Introduction
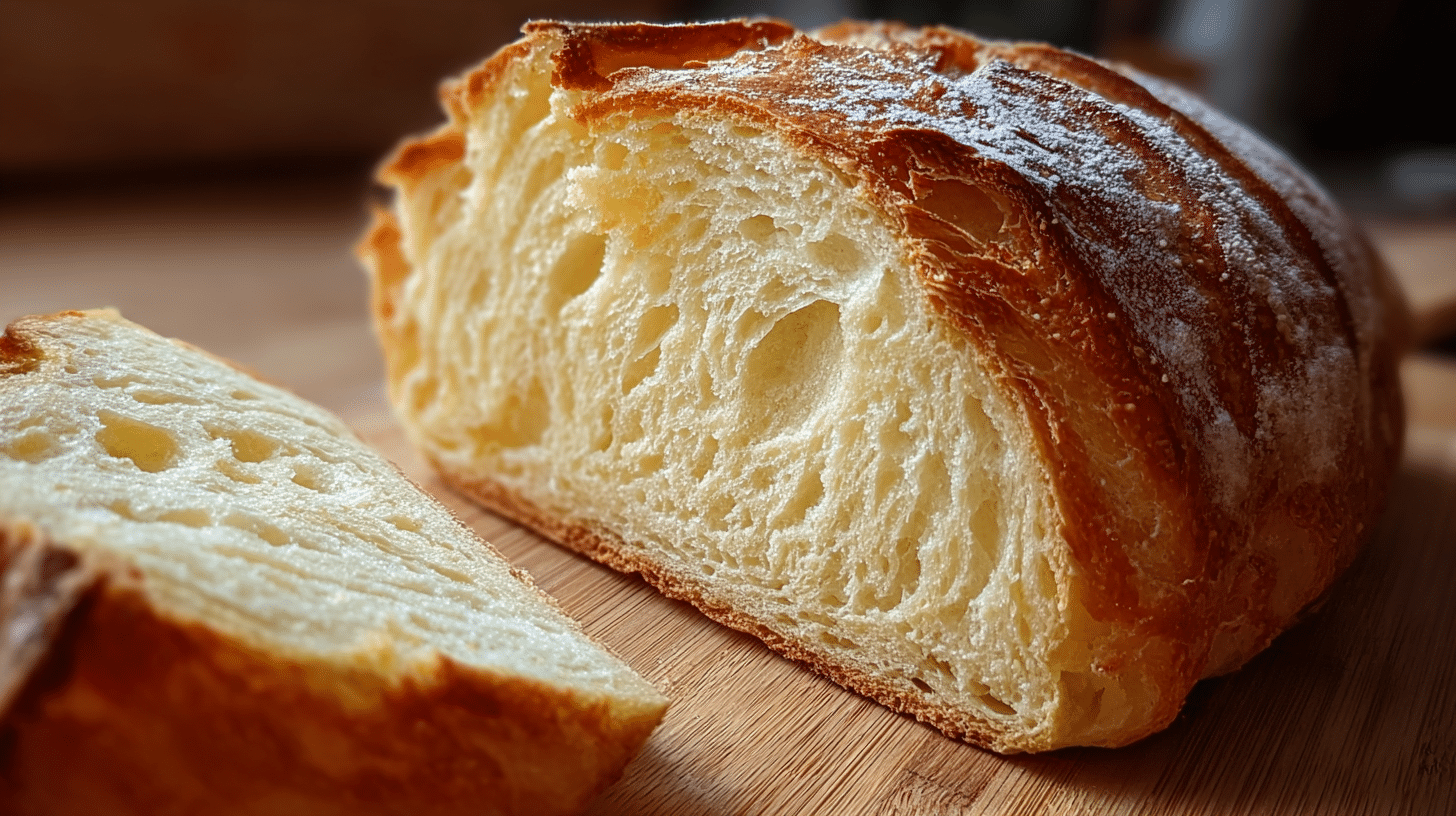
If you’ve ever wanted to make fresh, fluffy homemade bread without the hassle of kneading or a stand mixer, you’re going to love this easy no-knead blender bread recipe. With just a handful of common ingredients and your regular blender, you can whip up a soft, airy loaf that’s perfect for sandwiches, toast, or just slathering with butter. This method is perfect for busy home bakers, beginners, or anyone looking to simplify their baking routine without compromising on texture or flavor.
The best part? You don’t need special bread-making experience or fancy equipment. The combination of a blender and no-knead technique makes this a foolproof recipe anyone can follow. And if you’re looking to experiment with new styles, flavors, or techniques, don’t miss our flavorful twist in this Japanese Mounjaro Recipe.
Let’s dive into why this method is taking over modern kitchens and how you can master it with ease.
Table of Contents
Table of Contents
Why Blender Bread is a Game-Changer
The Rise of No-Knead Bread Trends
Over the past few years, the no-knead bread trend has exploded across baking blogs, YouTube channels, and kitchen counters everywhere. But why has it become such a hit? Simply put—it’s the easiest way to make bakery-quality bread at home without rolling up your sleeves for a workout.
Traditional bread requires time, technique, and effort. With no-knead bread, you let time and moisture do the work. This method revolutionizes home baking by making bread approachable even for first-timers. The real secret is in its hydration level. Higher water content makes the dough more flexible and bubbly, which helps create that light, airy structure we all crave.
Now add a blender into the mix, and you’ve got a fast, mess-free approach to preparing dough. It replaces the effort of whisking and mixing, helping you emulsify wet ingredients for the softest loaf possible.
What Makes Blender Bread Different from Traditional Methods
This easy no-knead blender bread recipe removes two major pain points in baking: kneading and cleanup. Instead of tiring out your arms or pulling out a heavy-duty stand mixer, you just toss your wet ingredients into the blender, blitz them smooth, and pour them into the dry mix.
Here’s how blender bread stands out:
- Faster Prep – Blend in under 2 minutes.
- Even Texture – The blender creates a smoother, creamier mix, improving consistency.
- Less Cleanup – Only the blender and one bowl are needed.
- No Kneading Needed – Skip the hard labor entirely.
This method produces dough that’s pourable—closer to a thick batter than traditional dough. But once it bakes, the results are magical: soft, fluffy, golden perfection.
And because it’s so adaptable, you can customize it however you want, sweet or savory. Check out our delicious take on banana-based baking in this Angular Banana Bread guide.
Ingredients Breakdown – Softness Starts Here
Essential Pantry Staples: Eggs, Milk, Sugar, Butter
To master this easy no-knead blender bread recipe, start with the right ingredients. Each component in this soft, fluffy homemade bread serves a specific purpose in building flavor, moisture, and that coveted tender crumb.
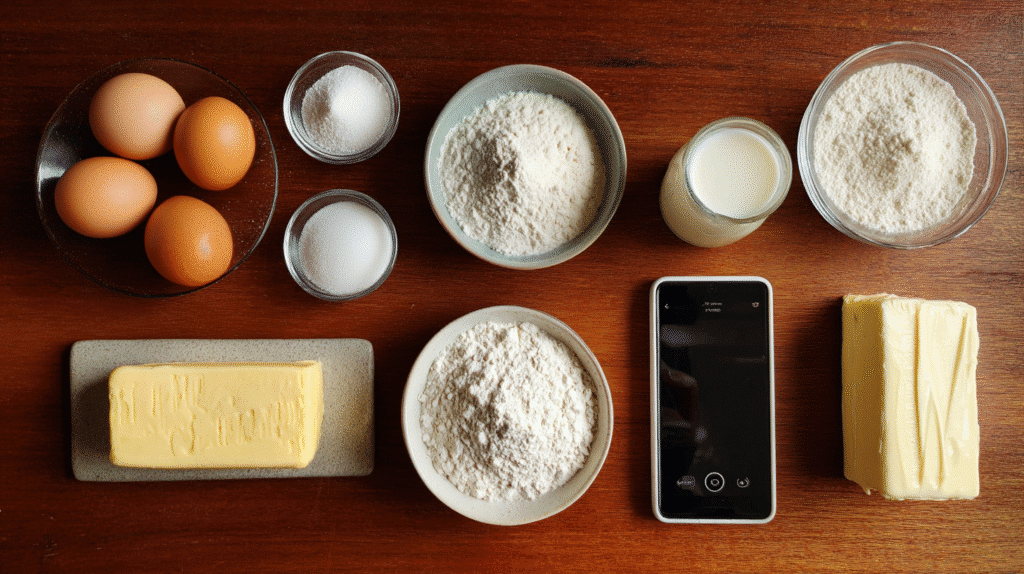
Let’s break down the stars of the recipe:
- Eggs (2 large – 110g): Eggs enrich the dough, helping create a tender, moist loaf while adding protein and richness. They also improve the rise and give the bread a soft structure.
- Milk (350ml / 1½ cups): Milk makes the dough more tender than water-based breads and adds a slight sweetness. Use full-fat milk for richer flavor. Feel free to use almond or oat milk as a dairy-free alternative.
- Sugar (2 tbsp / 30g): This not only sweetens the bread slightly but also feeds the yeast, aiding in a better rise.
- Unsalted Butter (40g / ¼ cup): Melted butter adds moisture and softness. It also helps the crust brown beautifully in the oven.
Optional upgrades:
- A spoon of milk powder or a splash of cream adds extra softness and richness. These small touches make a big difference in the final loaf.
Yeast, Flour, and Salt: The Essential Trio for Perfect Bread Texture
The dry ingredients are just as critical. This recipe leans on reliable basics that come together for the perfect no-knead structure:
- Instant Dry Yeast (1½ tsp / 4.5g): This fast-acting yeast blends directly into the batter. It starts the fermentation process right away. If you only have active dry yeast, be sure to activate it first in lukewarm milk.
- Bread Flour (500g / 4 cups): Bread flour has more protein than all-purpose, which builds stronger gluten structure. That’s how we achieve fluffy volume without any kneading.
- Salt (½ tsp / 3g): Just enough to balance sweetness and enhance flavor without overpowering. Salt also strengthens the dough by tightening gluten strands during the rise.
Optional Add-Ins for Extra Moisture and Flavor
Want to put your own spin on this blender bread recipe? Here are a few ideas to elevate your loaf:
- Honey or maple syrup instead of sugar for natural sweetness
- Yogurt or sour cream for tang and moisture
- Chia or flax seeds for a fiber boost
- Vinegar (½ tsp) to tenderize and add lightness (especially helpful if using all-purpose flour)
These extras won’t affect the batter’s pourable consistency—what makes blender bread unique. Instead, they can boost softness, enrich flavor, and help it stay fresh longer.
The Secret Science Behind No-Knead Bread
How Gluten Forms Without Kneading
One of the most surprising facts about easy no-knead blender bread recipes is that you don’t need to knead the dough to develop gluten. That’s right—no arm workout required. So, how does it still rise and hold its structure?
It all comes down to hydration and time.
In traditional kneading, physical motion helps align gluten strands, giving bread its elasticity. In no-knead recipes, high hydration (wet dough) and extended fermentation allow gluten to form naturally through enzymatic action. The flour slowly absorbs the moisture, and the gluten network develops on its own. As it proofs, the dough becomes stretchier, bubbly, and able to trap air, resulting in that soft, fluffy interior.
This explains why the dough in this recipe is more like a thick batter—it’s the moisture that does the heavy lifting.
Want to see this hands-off approach in action with vegetables? Discover great ideas like these Crispy Parmesan Zucchini Potato Muffins.
Why the Blender Boosts Consistency and Airiness
Using a blender might sound unconventional, but it’s actually the secret to a smoother, more consistent dough. Here’s why it works so well:
- Uniform Mixing: The blender ensures that all wet ingredients—especially the eggs, milk, sugar, and melted butter—are fully emulsified before they hit the dry mix. This prevents clumping and leads to even distribution.
- Incorporated Air: Blending aerates the liquid mixture, introducing tiny air pockets that help give the final bread that soft, cloud-like texture.
- No Manual Effort: Blenders save time and effort while improving results. You won’t have to wonder whether the ingredients are fully combined.
This isn’t just about convenience—it’s about better bread with less work.
You may not be punching down dough or stretching it into windowpanes, but rest assured: your blender is doing more than enough to create the structure your soft homemade bread needs.
Step-by-Step – How to Make Easy No-Knead Blender Bread
Ready to bake? This part walks you through each step of making soft, fluffy homemade bread—without kneading, folding, or stressing. Gather your ingredients, a blender, and a mixing bowl. That’s all you need.
Blending Your Wet Ingredients to Perfection
This is where your blender bread gets its silky smooth base.
- Crack 2 large eggs into a small bowl and set aside.
- In your blender, combine:
- 350ml (1½ cups) of milk
- 2 eggs (110g total)
- 2 tablespoons (30g) of sugar
- 40g (¼ cup) melted unsalted butter
- Optional: Add 1 spoon of milk powder or a splash of cream for extra softness.
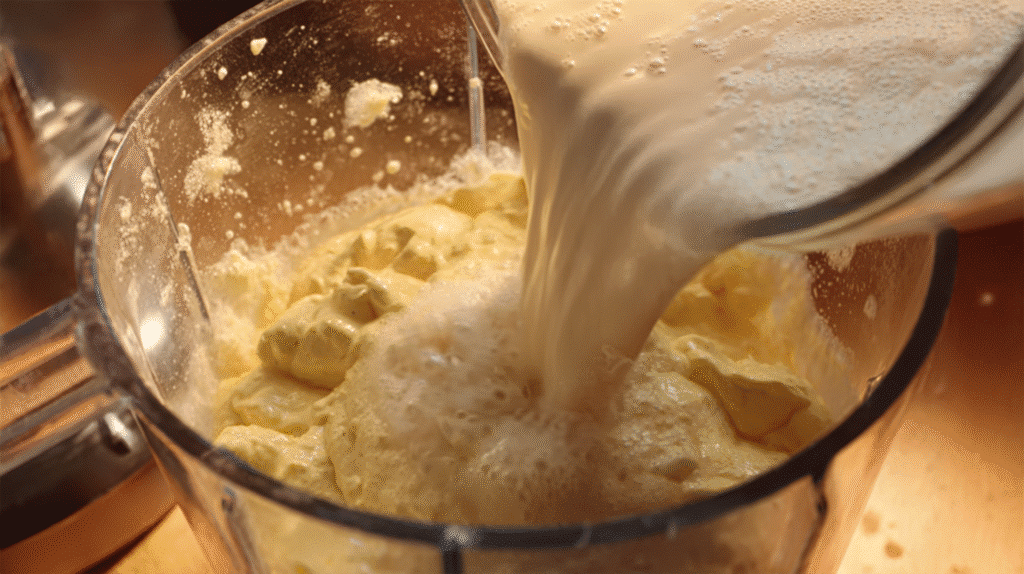
- Blend on high speed for 2 minutes, until the mixture is creamy and frothy.
This step ensures all wet ingredients are fully emulsified, adding structure and lightness to your dough.
Mixing & Proofing: Achieving the Perfect Rise
Now it’s time to transform your liquid mix into a pourable dough:
- Pour the blended mixture into a large bowl.
- Add 1½ tsp (4.5g) instant dry yeast and mix gently.
- If using active dry yeast, activate it first in warm milk (~100°F).
- In a separate bowl, sift together:
- 500g (4 cups) bread flour
- ½ tsp (3g) salt
- Add the dry flour mixture to the wet ingredients and stir until combined.
- You should get a soft, thick batter-like dough that’s pourable.
- If the batter seems too thin or thick, simply add a tablespoon of flour or milk to adjust the consistency.
- Line your baking mold (approx. 10.6 x 6 x 2.6 inches) with parchment paper.
- Pour the dough into the mold, smoothing the top.
- Cover and let it proof for 30 minutes to 1 hour, or until doubled in volume.
- Tip: Place the pan in a warm, draft-free area for optimal rising.
Learn more about flavor-boosting ingredients in our Pink Salt Recipe.
Baking Tips for a Golden, Soft Crust
- After the dough has risen, lightly brush the surface with an egg wash.
- Mix 1 egg yolk with a splash of milk for a glossy finish.
- Preheat your oven to 180°C (356°F).
- Bake for 40 minutes or until the top is golden and a toothpick comes out clean.
- Let it cool in the mold for 10 minutes, then transfer to a wire rack.
You now have a loaf of easy no-knead blender bread that’s fluffy inside, golden outside, and full of homemade flavor.
✅ Quick Recap Table:
| Step | Action | Details |
|---|---|---|
| 1–4 | Blend wet ingredients | Milk, eggs, sugar, butter (+ optional) |
| 5–8 | Combine with dry mix | Add yeast, flour, salt |
| 9–11 | Pour & proof | Use parchment-lined mold |
| 12–14 | Bake | 180°C for 40 minutes + egg wash |
| 15 | Cool | 10 minutes in mold, then wire rack |
Customizing Your Blender Bread
One of the best things about this easy no-knead blender bread recipe is how flexible it is. The base is so soft, fluffy, and neutral that you can transform it into just about any flavor—sweet or savory—without affecting the structure or rise.
Below are some tasty variations to keep your bread baking exciting, flavorful, and family-approved.
Sweet Variations: Cinnamon Swirl, Honey Butter, Raisins
If you’re a fan of sweeter, breakfast-style breads, this soft homemade bread provides the perfect canvas. Add-ins can be folded in after blending and before baking.
Try these ideas:
- Cinnamon Swirl
Stir together 1 tablespoon of cinnamon and 2 tablespoons of brown sugar. Once you’ve poured the batter into the pan, use a knife to gently swirl in the mixture. It’s an easy way to create bakery-style bread at home with little effort. - Honey Butter Loaf
Replace the sugar with 2 tablespoons of honey and increase the butter slightly for a richer, softer crumb. - Raisin Bread
Fold in ½ cup of raisins or dried cranberries into the batter before pouring it into the pan. Soak them in warm water for 10 minutes first to keep them juicy and soft. - Chocolate Chip Bread
To turn it into a dessert loaf, gently fold in ½ cup of mini chocolate chips just before baking. Finish with a drizzle of glaze after it cools for an extra-indulgent touch.
Want more naturally sweet options with just a few ingredients? Check out our minimalist 4-ingredient recipe here.
Savory Twists: Cheese, Garlic, and Herb Versions
Savory lovers, we haven’t forgotten you. This blender bread also makes the perfect sidekick for soups, pastas, or charcuterie boards.
Here are some ways to make it savory:
- Cheesy Loaf
Stir in ½ cup of shredded cheddar, parmesan, or mozzarella. Sprinkle more on top before baking to create a golden, crispy cheese crust. - Garlic & Herb Bread
Add 1 teaspoon of garlic powder and a mix of dried herbs like oregano, thyme, or rosemary to the dry ingredients. Finish with a brush of garlic butter post-bake. - Jalapeño Corn Bread
Stir in ⅓ cup of corn kernels and sliced pickled jalapeños. Use cornmeal for part of the flour for a cornbread hybrid. - Olive & Sun-Dried Tomato Loaf
Add ¼ cup of sliced black olives and chopped sun-dried tomatoes. Serve this with olive oil and balsamic vinegar for a rustic appetizer.
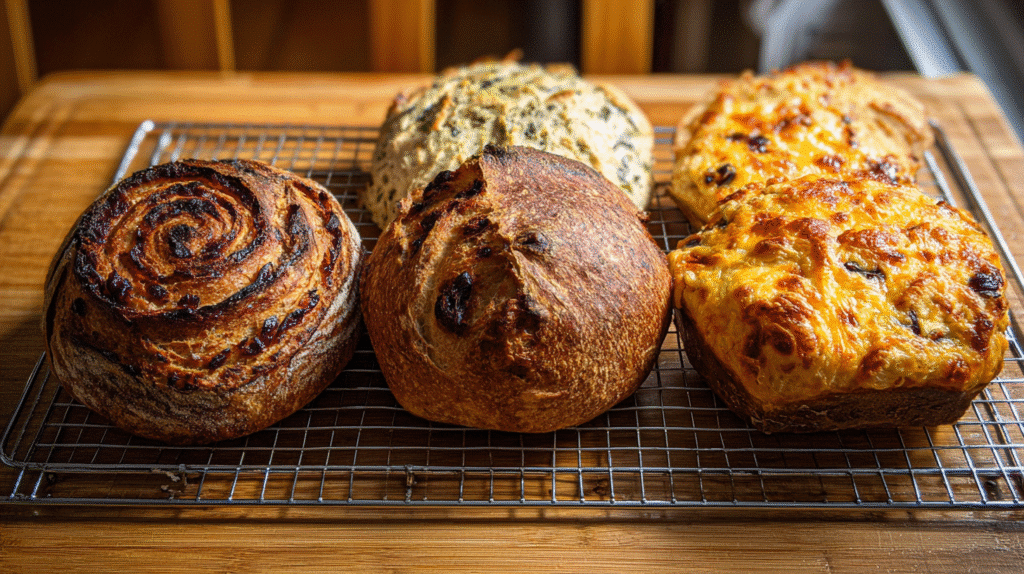
These variations are a great way to reinvent your no knead bread without changing the base process. Just fold your chosen add-ins gently after mixing the batter but before pouring into the mold.
Tools You’ll Need (And Don’t Need!)
One of the best perks of this easy no-knead blender bread recipe is that it requires almost no special equipment. That’s right—no stand mixer, dough hook, or bread machine in sight. This approach is designed for everyday home cooks using what they already have in the kitchen.
Let’s talk about the tools that matter—and the ones you can skip.
Why You Don’t Need a Stand Mixer or Dough Hook
Traditional bread recipes typically call for lots of kneading, either by hand or with a heavy-duty stand mixer. But not here.
With blender bread, the entire wet mixture is blitzed to perfection using a standard kitchen blender. Once blended, you simply stir in the dry ingredients—no arm workout, no dough hook required.
Here’s what you can skip:
- Stand mixer – Not needed since there’s no kneading.
- Mixing paddles or dough attachments – Your blender replaces all of it.
- Proofing baskets – The dough proofs directly in the baking pan.
- Rolling pins – Not relevant for pourable, batter-like doughs.
This simplicity makes it perfect for beginners, college students, or anyone baking in a small kitchen.
Don’t miss our home kitchen favorite: the Japanese Mounjaro Recipe, done without any fancy gear.
Choosing the Right Blender & Loaf Pan
While you don’t need anything special, a few key tools make all the difference in texture and baking consistency.
Blender Tips:
- Use a standard countertop blender with a 1.5 to 2-liter jar.
- Make sure the blades are sharp to fully blend the eggs, butter, and milk smoothly.
- Avoid using immersion blenders—they won’t emulsify the mix as well.
Loaf Pan Recommendations:
- Pan Size: Aim for a mold around 10.6 x 6 x 2.6 inches (26.9 × 15.2 × 6.7 cm).
- Material: Nonstick or ceramic pans work best for even browning.
- Lining: Always use baking parchment to prevent sticking.
Other Helpful Tools:
- Rubber spatula (to scrape batter)
- Mixing bowl (for combining wet and dry)
- Pastry brush (for egg wash)
- Wire rack (for cooling after baking)
That’s it. If you have these simple tools, you can bake perfect soft homemade bread anytime.
Storage, Freezing & Reheating Tips
Once you’ve baked your perfect easy no-knead blender bread, you’ll want to make it last—and taste just as soft and fluffy the next day. Luckily, this homemade loaf holds up incredibly well when stored properly.
Below are foolproof methods to keep your bread tasting bakery-fresh, whether you’re saving it for tomorrow’s toast or freezing it for next month.
Keeping Your Bread Fresh Longer
Here’s how to store your soft, fluffy homemade bread at room temperature:
- Cool Completely
Let the loaf cool entirely on a wire rack before wrapping. Trapped steam = soggy crust. - Wrap Right
After it has cooled, wrap the loaf tightly in plastic wrap, foil, or place it in a bread bag for storage. - Avoid Refrigeration
Don’t refrigerate fresh bread—this dries it out quickly. Room temperature is better for 2–3 days. - Use a Bread Box
If you have one, a ventilated bread box keeps crust crispy while maintaining interior softness.
Pro Tip: Toasting day-old slices revives the texture beautifully.
Best Practices for Freezing Sliced vs. Whole Loaves
Planning to make a big batch or save some for later? Freezing is the easiest way to keep your blender bread fresh.
Here’s how to do it right:
| Freezing Method | Steps |
|---|---|
| Whole Loaf | Wrap tightly in plastic, then aluminum foil. Freeze for up to 2 months. Thaw overnight at room temp. |
| Pre-Sliced | Slice cooled loaf. Stack with parchment between slices. Place in a freezer bag. Toast directly from frozen. |
This makes it incredibly easy to enjoy fresh-tasting bread any time—straight from the freezer.
Want more ideas that store and freeze beautifully? Check out our Japanese Mounjaro Recipe for another freezer-friendly option.
Nutrition & Health Profile of Blender Bread
Understanding the nutritional value of your easy no-knead blender bread recipe is just as important as enjoying its incredible taste. Whether you’re baking for family, watching your macros, or adapting for dietary needs, this section breaks down what you need to know.
Calorie & Macronutrient Breakdown
Here’s an approximate nutritional snapshot per slice (based on 12 slices from one loaf):
| Nutrient | Amount Per Slice |
|---|---|
| Calories | 180–200 kcal |
| Carbohydrates | 28–30g |
| Protein | 5–6g |
| Fat | 6–8g |
| Fiber | 1g |
| Sugar | 2–3g |
| Sodium | 110mg |
These values may vary slightly depending on the type of milk, flour, and optional ingredients (e.g., cream, honey, or raisins) you use. The base recipe provides a well-balanced loaf with energy, softness, and structure, perfect for breakfast or snacks.
Making It Healthier: Whole Wheat, Vegan & Dairy-Free Swaps
Looking to give your soft, fluffy homemade bread a nutritional upgrade? No problem. This recipe is flexible enough to adapt while maintaining its signature texture.
Here are a few healthy modifications:
- Whole Wheat Version
Swap 50% of the bread flour with whole wheat flour to increase fiber. You may need an extra splash of milk since whole wheat absorbs more moisture. - Vegan-Friendly Adaptation
Replace:- Eggs with ½ cup unsweetened applesauce or mashed banana
- Milk with oat or almond milk
- Butter with olive oil or vegan margarine
- Low-Sugar Option
Reduce the sugar to 1 tbsp or use a sugar substitute like monk fruit sweetener. - High-Protein Add-In
Add 2 tablespoons of chia seeds or hemp seeds to the dry mix for extra protein and omega-3s.
Even with adjustments, the batter remains pourable, and the result is still a fluffy, delicious blender bread loaf with a healthier spin.
For more recipes follow me in Facebook and instagram .
FAQs
Can I use a blender to make bread dough?
Yes, absolutely. A blender works perfectly for no-knead bread recipes because you’re not developing gluten through kneading. Instead, you’re blending wet ingredients (milk, eggs, butter, sugar) to a creamy, consistent mix. Then, you combine it with dry ingredients by hand to create a pourable dough. It saves time, ensures even mixing, and eliminates the need for heavy equipment.
What are the 4 ingredients in no knead bread?
At its simplest, no-knead bread includes:
Flour
Yeast
Salt
Water
This base can be elevated with eggs, milk, and butter for a richer, softer loaf—like in this blender bread recipe. You still enjoy the same no-knead simplicity, but with added flavor and moisture.
How do bakers get their bread so fluffy?
Fluffiness comes from a few key factors:
Proper hydration: A high-moisture dough results in a lighter crumb.
Perfect yeast balance: Using the right amount of yeast (and giving it time to rise) ensures good air pockets.
Accurate mixing: Blending wet ingredients creates a smooth, even base.
Gentle handling: Since this dough isn’t kneaded, it maintains more air, which adds to softness.
This is exactly why our soft, fluffy homemade bread method works—even without kneading.
Why add vinegar to no knead bread?
A small splash of vinegar can:
Help tenderize the dough
Enhance gluten development without kneading
Add subtle flavor
Extend shelf life by lowering pH
It’s optional in this blender bread recipe, but a teaspoon of vinegar or lemon juice can boost softness—especially if you’re using all-purpose flour instead of bread flour.
Conclusion: Bake Once, Love Forever – The Joy of Homemade No-Knead Blender Bread
With just a blender, a few ingredients, and zero kneading, you can now enjoy soft, fluffy homemade bread that’s as good as anything from the bakery. This easy no-knead blender bread recipe proves that anyone can bake fresh, warm bread from scratch—without stress, mess, or a mixer.
Whether you go for the classic version, mix in sweet swirls, or spice it up with herbs and cheese, this method adapts to your mood and your pantry. It’s more than a recipe—it’s your new baking ritual.
Don’t stop here. Check out more simple ideas at our homepage.
Print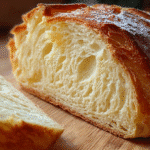
Easy No-Knead Blender Bread Recipe
- Total Time: 50 minutes
- Yield: 1 loaf (about 12 slices)
Description
This Easy No-Knead Blender Bread Recipe delivers a soft, fluffy homemade loaf with zero kneading required. Just blend, pour, and bake! Perfect for beginners and busy bakers—ready in under an hour with pantry staples.
Ingredients
2 large eggs (110g)
1½ cups (350ml) milk
2 tablespoons (30g) sugar
40g (¼ cup) melted unsalted butter
1½ teaspoons instant dry yeast (4.5g)
4 cups (500g) bread flour
½ teaspoon salt (3g)
(Optional) 1 tablespoon milk powder or a splash of cream
(Optional) Add-ins: raisins, cinnamon sugar, shredded cheese, dried herbs
Instructions
- Crack eggs into a small bowl and set aside.
- In a blender, combine milk, eggs, sugar, and melted butter. Blend for 2 minutes until smooth.
- Pour the blended mix into a large bowl. Add the instant yeast and stir gently.
- In another bowl, mix together bread flour and salt.
- Combine the dry ingredients with the wet mixture and stir to form a thick, pourable batter.
- Line a loaf pan (10.6 × 6 × 2.6 inches) with parchment paper and pour in the batter.
- Cover and proof for 30–60 minutes or until doubled in size.
- Preheat the oven to 180°C (356°F). Brush the top with egg wash (1 yolk + splash of milk).
- Bake for 40 minutes until golden. Let cool before slicing.
Notes
- You can substitute all-purpose flour if needed, though bread flour yields a fluffier result.
- For a dairy-free version, use plant-based milk and oil instead of butter.
- Make it sweet with chocolate chips or cinnamon swirl, or savory with garlic and herbs.
- Bread freezes well for up to 2 months—slice before freezing for easy toast-on-demand.
- Prep Time: 10 minutes
- Cook Time: 40 minutes
- Category: Bread
- Method: Baking
- Cuisine: American
